The shaving brush, a key component in the wet shave but often overlooked by the novice. When one first hops into the world of traditional shaving your eyes and senses are usually taken captive by the abundance razors out there antique and new, second to the razor is probably the soap options, and then your blade of preference. We usually get to the brush last in our exploration. Nothing wrong with this at all, and it is only natural in the overwhelming world of DE/SE.
When you do finally become hip to the brush you have achieved new insight and reached another level of the art. A typical seasoned wet shaver will have anywhere from 2 to 25+ modern and vintage safety razors, 2-5 different pucks of shaving soap or creams in their rotation and 1-5 brushes. I really wish much like blades or soaps come in sampler packs, so would brushes, however unrealistic that is. That said, I believe it very important to find the right brush for you and the right brush for the particular soap you are using.
Depending on the brush you choose there are many ways of caring and prolonging it’s life. I am not going to cover any of these methods here except the most important one, hanging it to dry, for this applies to all makes and models. For more info on brush care there is much to be found online and I encourage you in your quest.
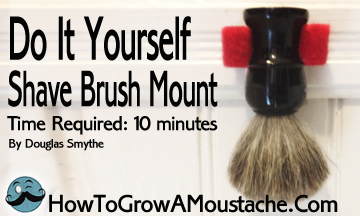
Today we will just be focusing on creating our own quick and easy, “Press Wall Mount.” This is a really great and effective DIY project for any wet shaver looking to conserve space but maintain ease of access. Whether you are a shower shaver or sink shaver you will find this “hack” very useful. Happy Shaving!
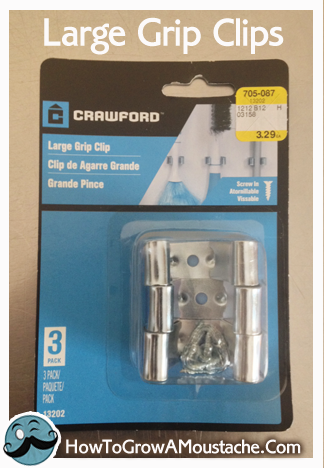 Visit your local Hardware Store and purchase “Large Grip Clips”. These are used for holding mops and brooms typically.
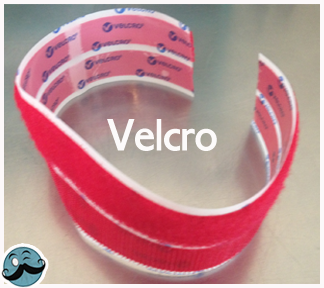
Pick up some Velcro while you are there. If you can purchase just the soft side, more than often not the case, please do. We are just interested in creating a soft, protective inner lining for the clip to protect the handle of the brush. I originally experimented with adhesive rubber padding but this prevented the brush from being easily pushed into to the clip due to the resistance of the rubber. I chose red to match the decor of my bathroom, the choice is really up to you…and possibly your significant other.
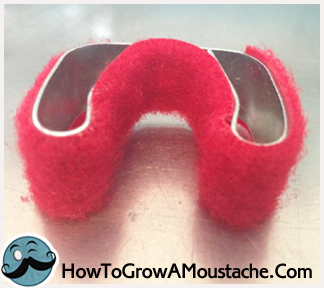 Next, Line the inside and out of the clip with the soft side of the Velcro. [Is it me or does this clip have a Bozo The Clown vibe?]
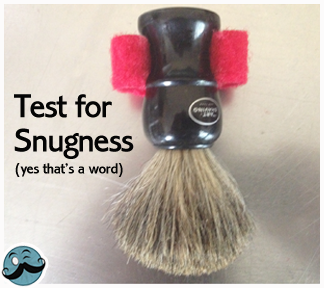
Now test out the tension of the clip with your shaving brush. You want it snug but not too snug. If you find it to have a lot of bite you can always bend the grips wider.
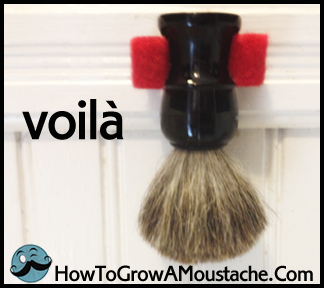
Done & Done, with your mount now complete simply screw it into the wall next to your sink or in the shower. In some case you may be able to get away with industrial double sided tape. Enjoy!
Total Time Required: 10 Minutes
Total Cost: $5.63
For more tips and tricks for tricking out your “Shaving Station” please check out our previous article: Tricking out the Shower Shaving Station
Creator of fine male grooming products and founding member, contributing writer & editor for “ How to Grow a Moustache”, an innovative, cutting edge blog dedicated to all things facial fur, wet shaving, style & travel [basically a Man Blog]-His mission: Create facial awareness and use his super powers [read: moustache] for good. Contact Douglas: whiskers@howtogrowamoustache.com

